A clean public restroom protects health, leaves a great impression, and keeps your customers and guests comfortable. Whether you manage a restaurant, retail store, office building, gym, school, or medical facility, knowing how to clean a public restroom properly is essential for protecting both your customers and your reputation.
This step-by-step commercial restroom cleaning guide walks through the exact 9-step process professional cleaning crews follow — plus the critical difference between cleaning, disinfecting, and sanitizing, and the reminders every facility manager should keep visible.
Why Public Restroom Cleaning Matters
Restrooms collect bacteria, urine residue, moisture, and germs throughout the day — far more than any other space in a commercial facility. A consistent cleaning routine, proper disinfecting, supply checks, and odor control ensure your public restrooms are clean, hygienic, and pleasant for everyone.
Below is the full visual breakdown of the process — save it, print it, or use it to train your team.

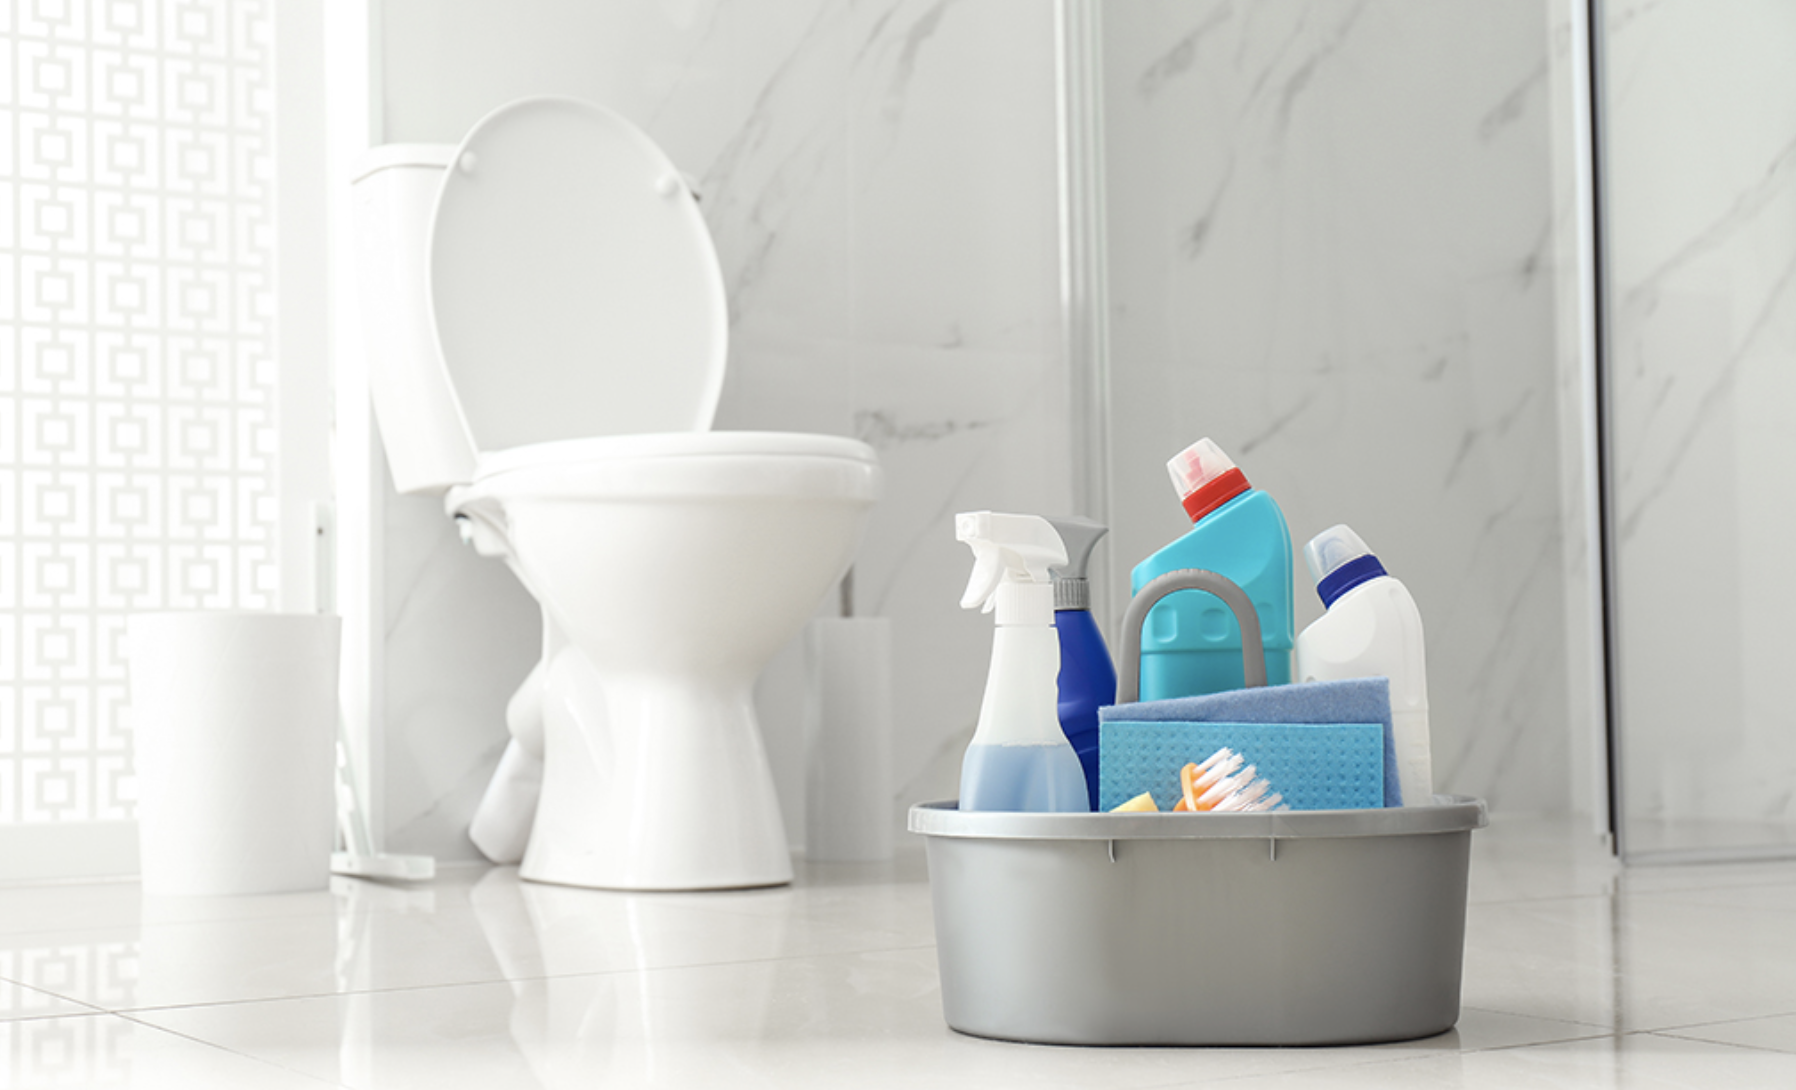
Step 1 — Gather Supplies
Before starting, gather all necessary supplies: cleaning solutions, disinfectants, paper towels, toilet brushes, mops, gloves, and equipment. Use a checklist so you don't forget anything mid-clean. Running out of disinfectant mid-task is one of the most common reasons restroom cleaning ends up half-finished.
Step 2 — Use Cleaning Signs
Place visible "Cleaning in Progress" signs to indicate areas being cleaned and when they'll be finished. This keeps people and staff safe, reduces interruptions, and shows guests that your facility takes hygiene seriously.
Step 3 — Empty the Trash
Remove all trash to improve the appearance of the restroom and eliminate unpleasant odors. Always wear gloves — trash bins in public restrooms are one of the highest-bacteria touchpoints in the entire facility.
Step 4 — Clean the Toilets
Flush, then scrub the bowl, rim, seat, and hard-to-reach areas with a toilet brush and cleaner. Flush again to rinse. Be thorough — the underside of the rim and the area where the bowl meets the floor harbor the most bacteria.
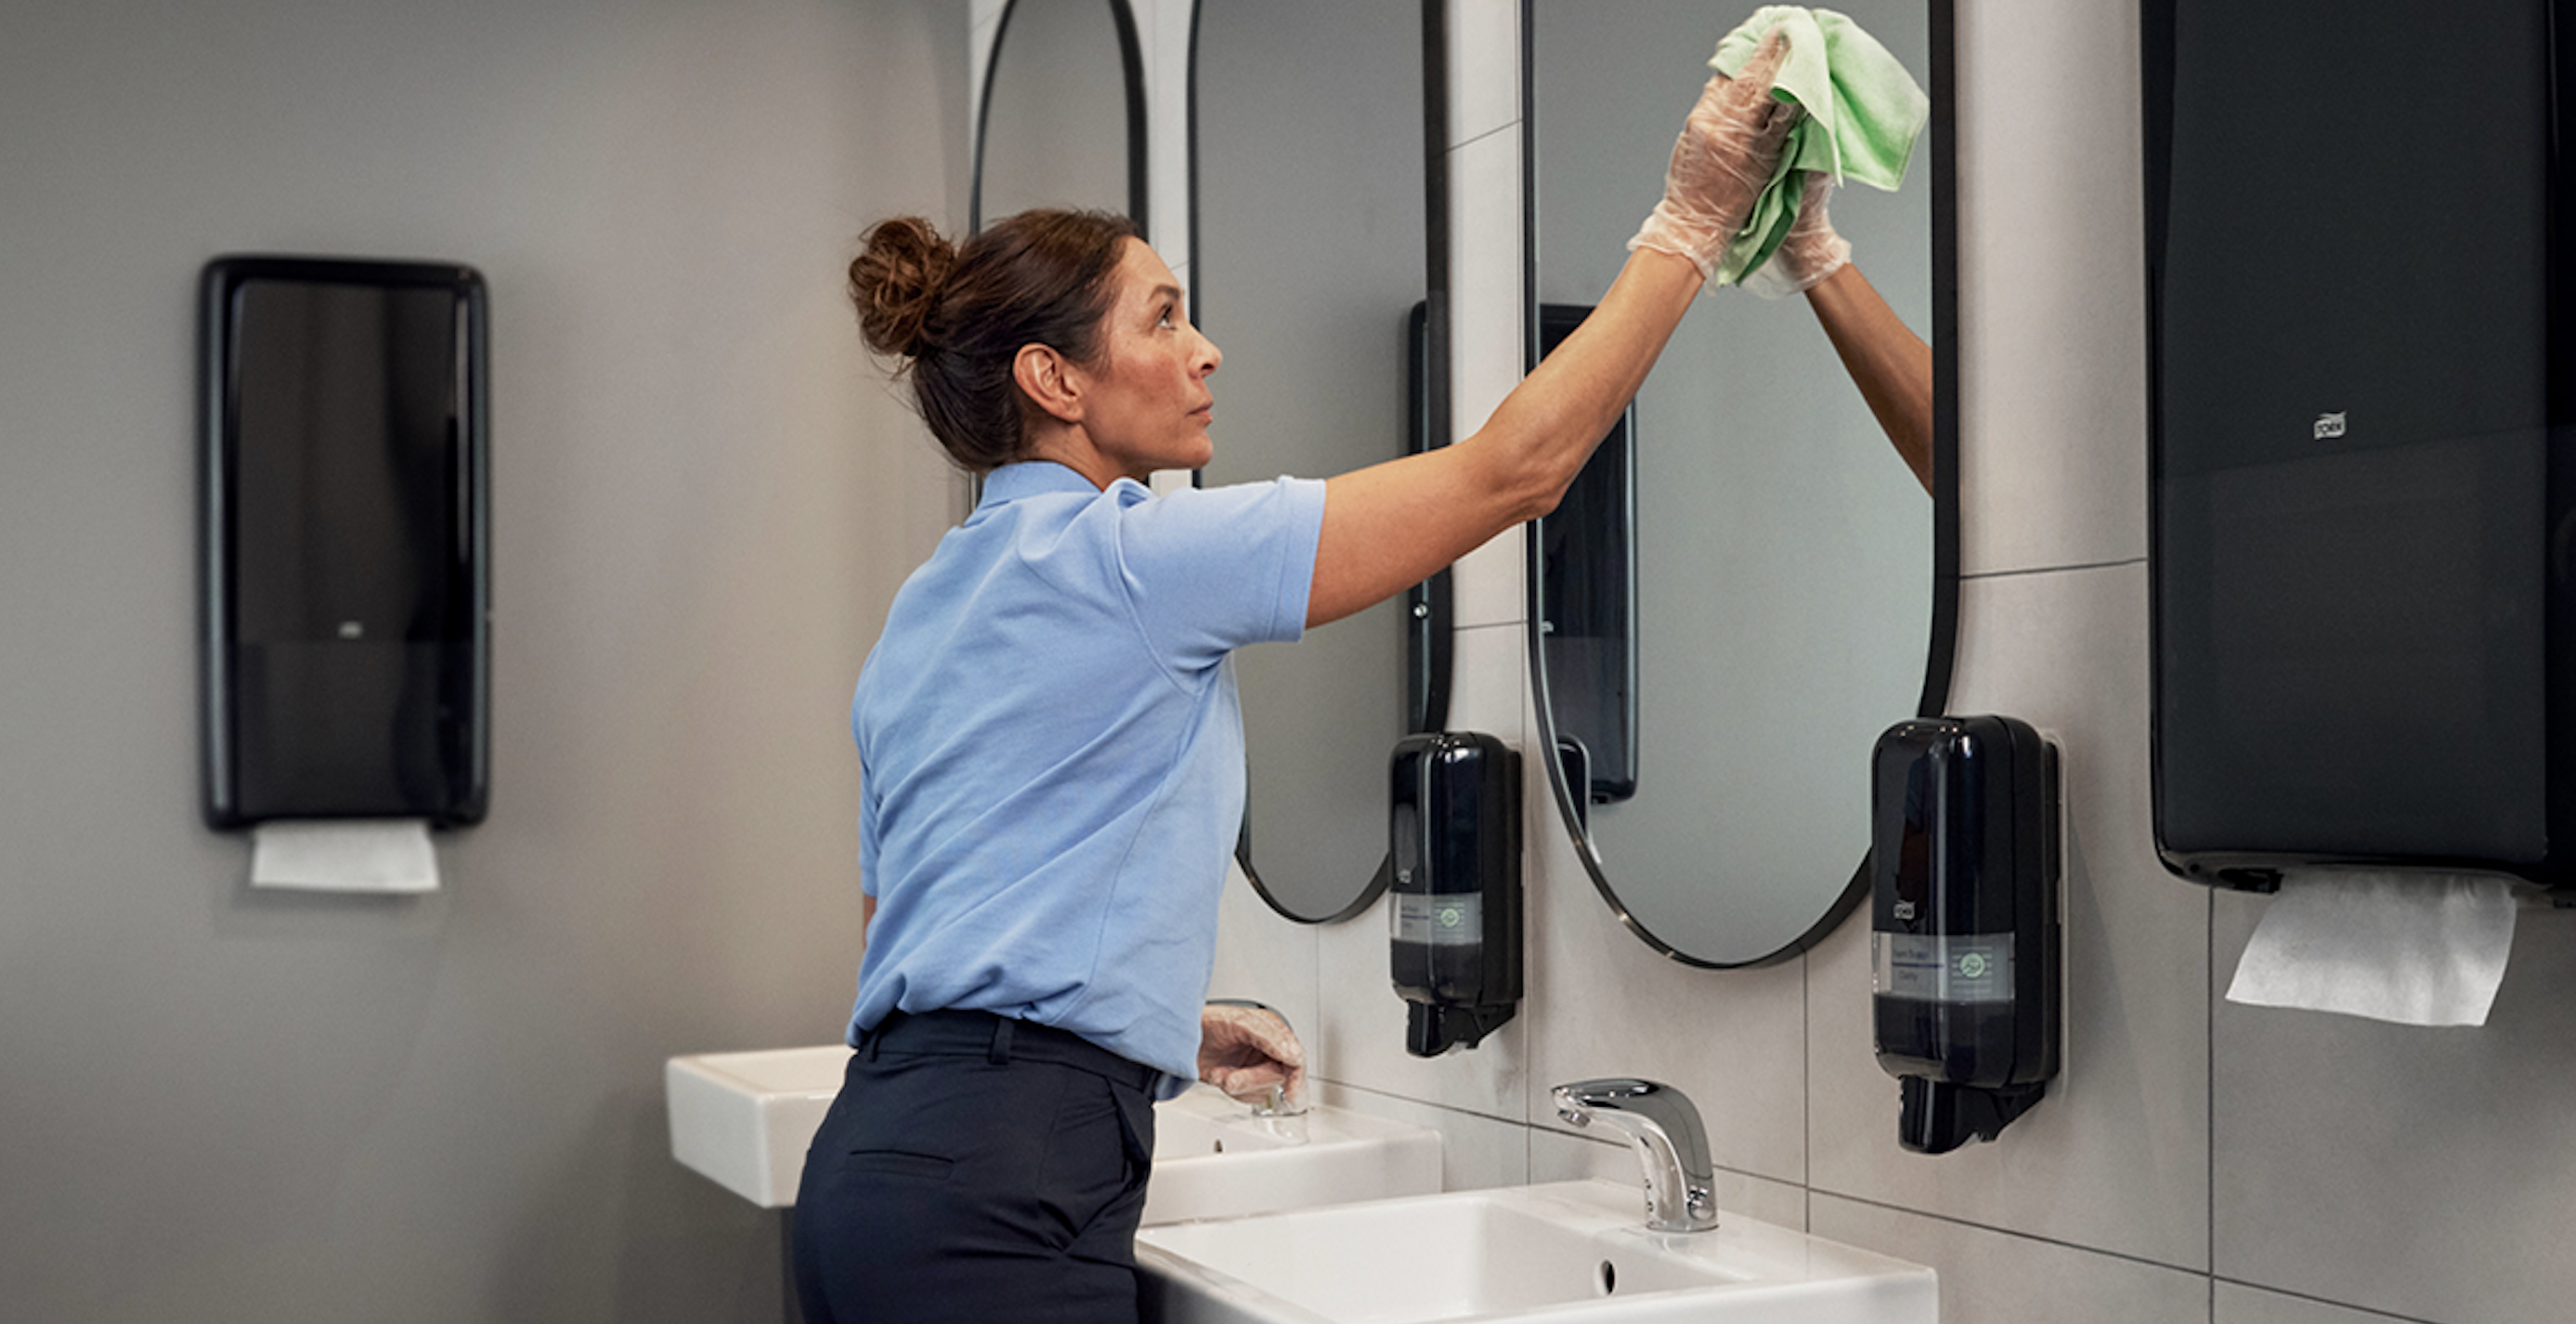
Step 5 — Clean Sinks & Countertops
Wipe sinks, countertops, faucets, and handles with a cleaning solution. Remove soap scum and hard water stains. Don't forget the sides of faucets and the area around drains — these get missed almost every time.
Step 6 — Clean the Floors
Sweep or dry mop first. Then wet mop with a cleaning solution, getting into all corners and crevices. Allow the floor to dry and place "wet floor" signs to prevent slips and falls.
Step 7 — Stock and Check
Restock paper towels, soap, and toilet paper. Check for needed repairs such as clogs, leaks, broken tiles, or faulty fixtures. A clean restroom with an empty dispenser still feels neglected to a guest.
Step 8 — Disinfect
Disinfect all high-touch surfaces — toilets, sinks, counters, handles, dispensers, and floors — to kill germs and reduce the risk of infection. Disinfecting must follow cleaning, not replace it. Disinfectants work best on surfaces that have already had visible dirt and debris removed.
Step 9 — Odor Control
Use commercial air fresheners and urinal screens to reduce odors and keep the restroom smelling fresh. Check odor status regularly. If odors return quickly, the source — usually urine salts trapped in grout or under fixtures — needs professional deep-foam treatment.
Understanding the Difference: Cleaning vs Disinfecting vs Sanitizing
These three words get used interchangeably, but each describes a very different result. Understanding the difference is the foundation of any real restroom hygiene program.
- Cleaning — Removes dirt and impurities including germs from surfaces. Cleaning alone does not kill germs, but by removing them, it decreases the number of germs and the risk of spreading infection.
- Disinfecting — Kills germs on surfaces using chemicals. It does not necessarily clean dirty surfaces or remove germs, but kills germs remaining after cleaning.
- Sanitizing — Lowers the number of germs on surfaces to a safe level, as judged by public health standards. It reduces the risk of spreading infection and is often used in healthcare and laboratory settings.
A real public restroom protocol uses all three: clean first to remove soil, disinfect to kill what's left, and sanitize high-contact surfaces down to public-health-approved levels.
Important Reminders for Every Restroom Clean
- Wear disposable gloves
- Wear a mask when needed
- Follow a regular cleaning schedule
- Use the right products for each surface
- Inspect supplies and equipment regularly
Key Takeaway
A consistent cleaning routine, proper disinfecting, supply checks, and odor control ensure your public restrooms are clean, hygienic, and pleasant for everyone. A clean restroom shows you care — keep it clean, keep it safe.
When Daily Cleaning Isn't Enough
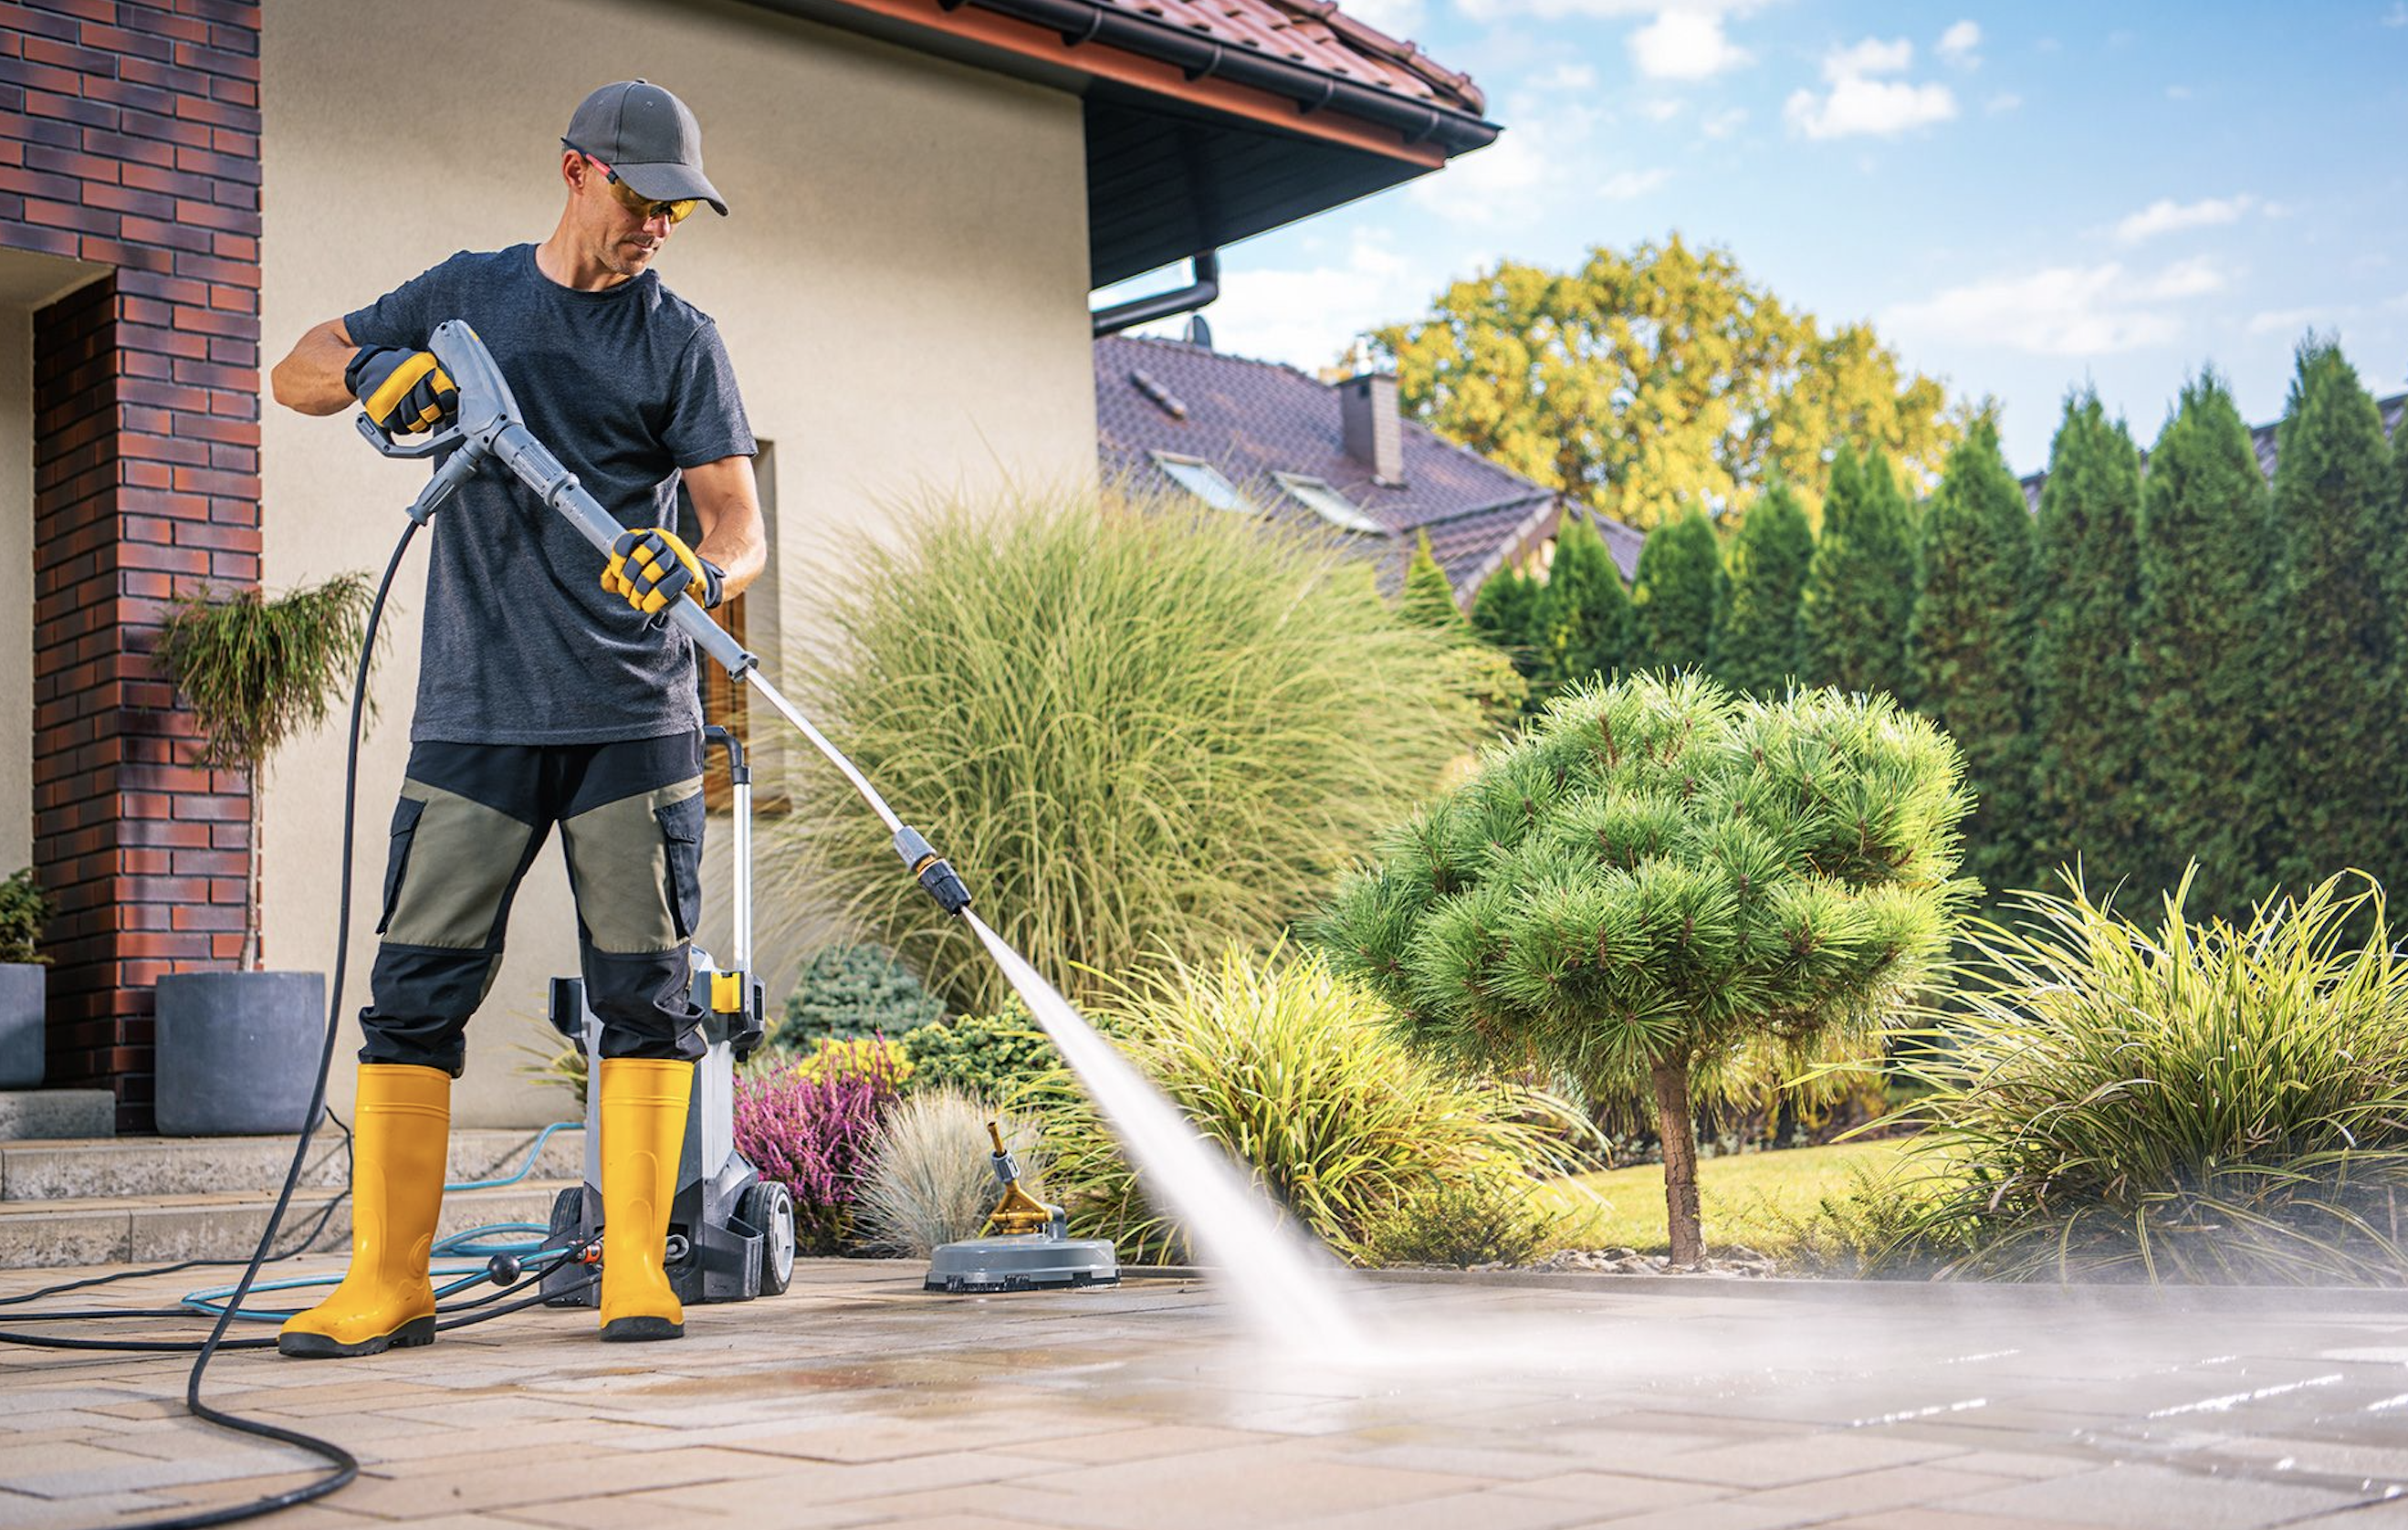
Even the best daily cleaning routine eventually meets its match. If your facility is dealing with persistent odors, stained grout, hard-water buildup on urinals, or recurring complaints, your restroom needs a professional deep clean — not more wipe-downs.
Deep Clean provides commercial restroom deep cleaning, deep-foam sanitation, pressure washing, urine odor removal, and high-touch surface disinfection across Wilmington, Wrightsville Beach, Carolina Beach, and the surrounding Cape Fear region. Our 7 Layers of Clean program tackles the buildup that daily routines can't reach — so your team's daily cleaning starts from a genuinely clean baseline.